The HistogramTransformation Process:
In this section we are going to learn about how to do simple stretches on your L data. Unlike the stretches done using the ScreenTransferFunction, these changes will transform your data from linear to stretched and they DO affect the underlying data.
Load your file with the L data that has been dynamically cropped (File->Open). Then do a regular Auto Stretch using the ScreenTransferFunction using [ctrl]a. The result should look something like this.
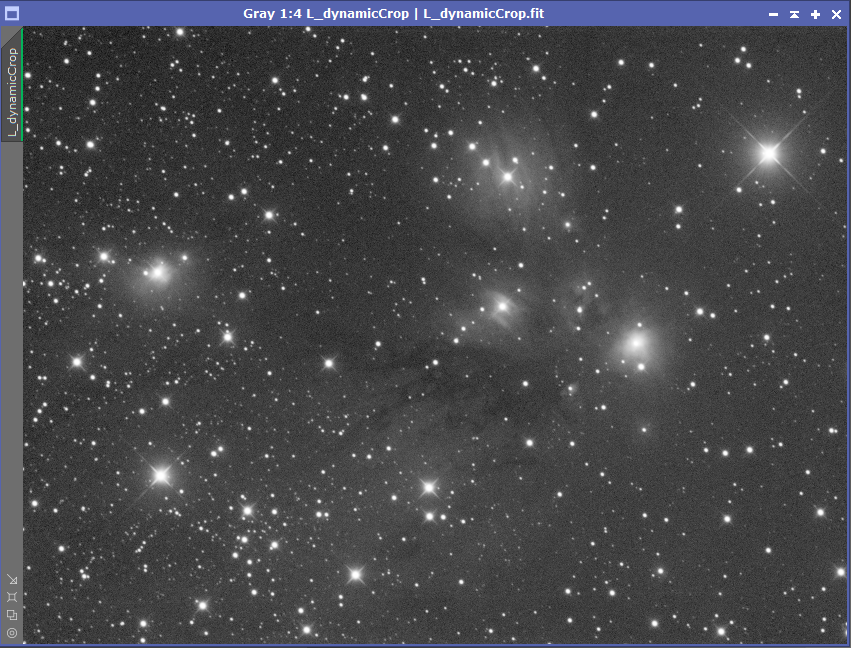
Auto Stretched L Data That Has Been Dynamically Cropped.
Now bring up both the ScreenTransferFunction (STF) process and the HistogramTransformation process. They should look approximately like this, perhaps with the difference that the "Track View" checkbox on your STF process may be set.
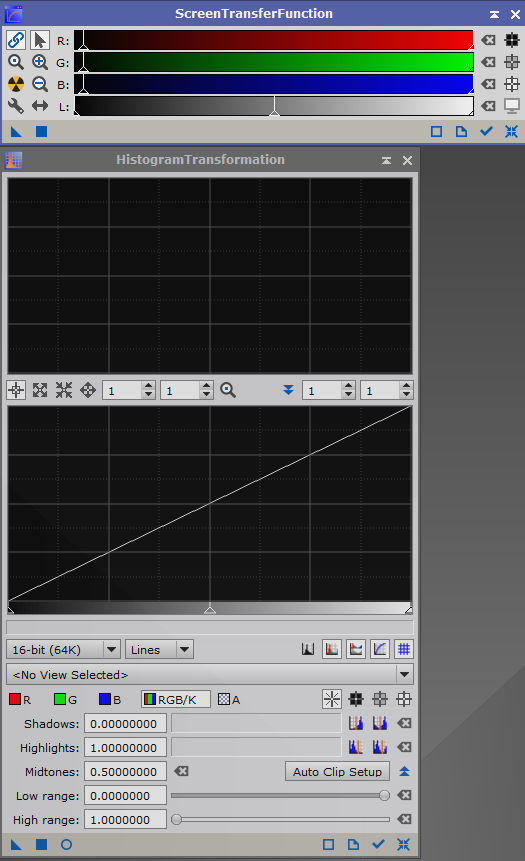
Now drag the blue triangle ("New Instance") from the STF process to the grey area at the very bottom of the HistogramTransformation process. This is the area next to the blue triangle, blue square, and blue unfilled circle at the bottom of the HistogramTransformation process window.
If this was done properly the display in the HistogramTransformation process should change and look approximately like this.
If this was done properly the display in the HistogramTransformation process should change and look approximately like this.
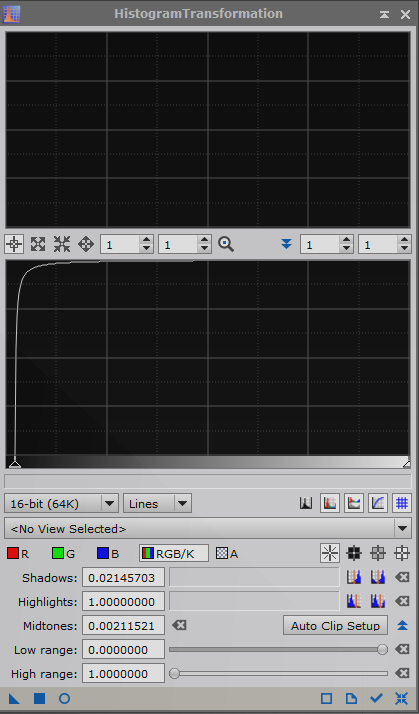
The HistogramTransformation Process after Applying Auto Stretch from the STF Process.
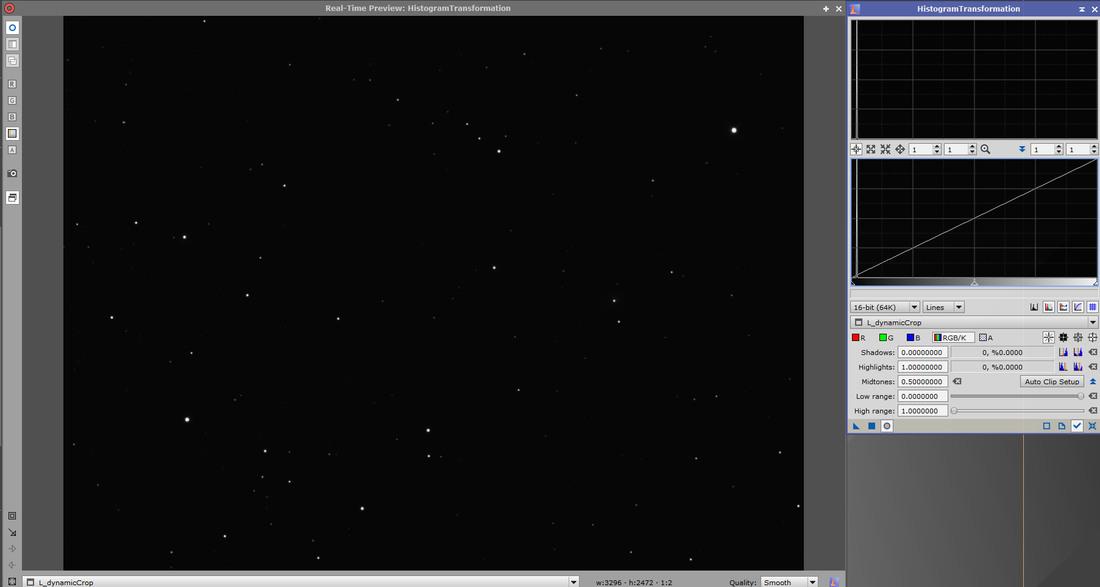
What you have done is actually apply the settings for the ScreenTransferFunction to the HistogramTransformation process. Now press the "Track View" button in the STF (the blue checkmark) and then the "Reset" button immediately to the right of it in the STF process. Your image should now have no STF stretch applied and the image should be mostly black with some of the brighter stars showing.

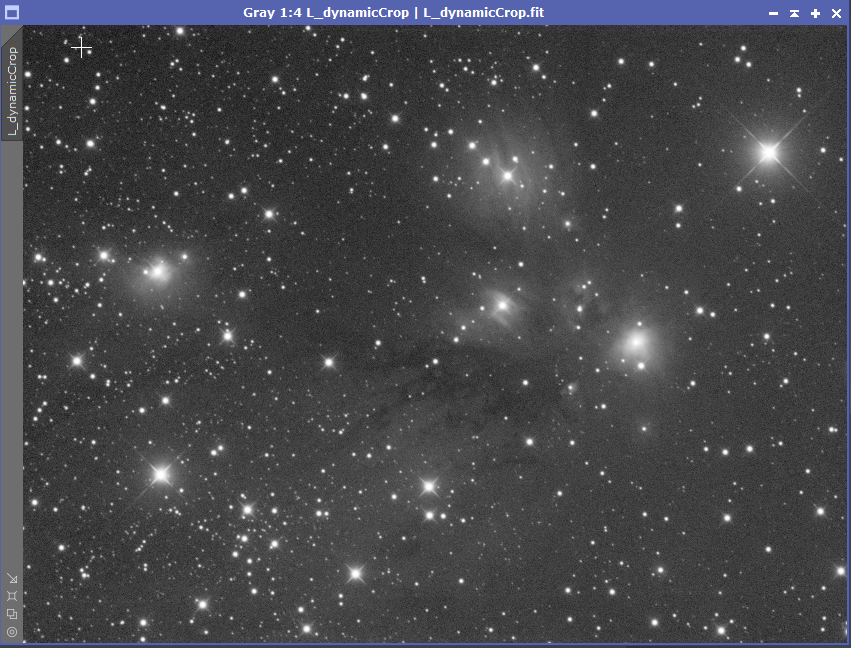
The L data with No Stretch Applied
We are now ready to apply the stretch settings that were transferred to the HistogramTransformation process to the image. Do do so, drag the blue triangle ("New Instance") to the lower left in the HIstogramTransformation process to the image and then let go of the mouse. Done properly the image will look just like it did when the Auto Stretch was performed. Except now the changes have actually been made to the underlying data.
HistogramTransformation Applied to L Image
To convince yourself that is actually the case, save the edited image (File->Save As) and make sure to save as either .FIT or .XISF. Use a name that is descriptive like L_STF_toHistTrans. Then get out of PixInsight entirely and reload it and the file. It should still look stretched even though we haven't done an Auto Stretch on it.
Another way we could have applied the HistogramTransformation was instead of dragging the blue triangle ("New Instance") into the image, we could have just pressed the filled in blue square next to it ("Apply"). This would have applied the Process to the image we were currently working on.
The code that handles doing a regular Auto Stretch in the STF is actually quite good, and some PixInsight users use this as their starting place. While that is a viable strategy, I would suggest you not normally do so. I think it can become a crutch and it is better to actually learn what the HistogramTranformation process does and how to adjust the settings from scratch. While the Auto Stretch is an OK result, it can often be bettered. In particular, it often makes the background brighter than is really desirable in order to bring out some of the faint detail, and the result can be very noisy.
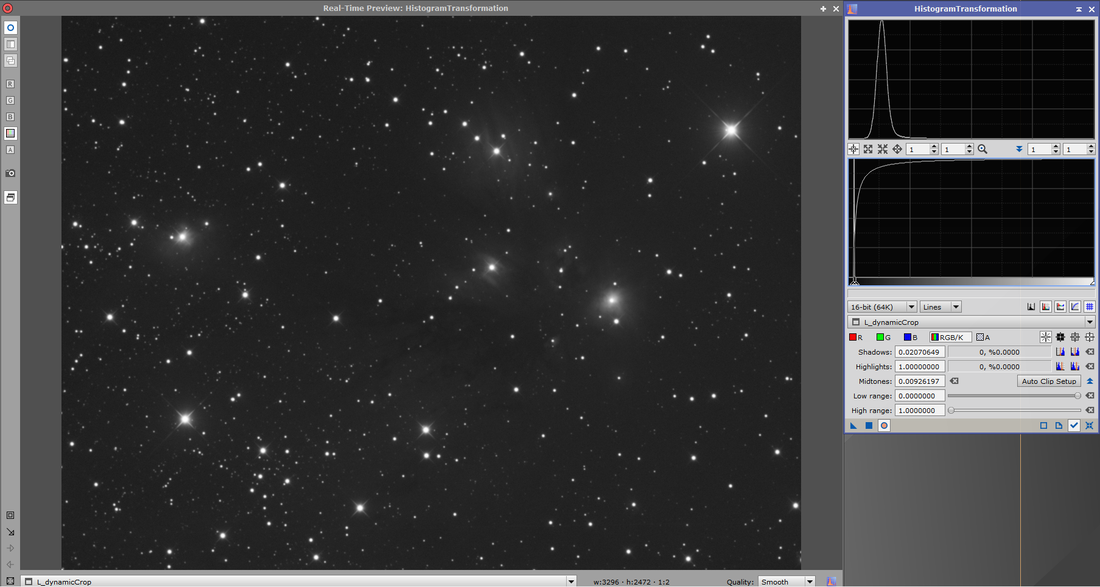
Lets look again at the HistogramTransformation Process without any adjustments made. Bring up the HistogramTransformation process and click the reset button to the lower right. The process interface should now look like this again.
Another way we could have applied the HistogramTransformation was instead of dragging the blue triangle ("New Instance") into the image, we could have just pressed the filled in blue square next to it ("Apply"). This would have applied the Process to the image we were currently working on.
The code that handles doing a regular Auto Stretch in the STF is actually quite good, and some PixInsight users use this as their starting place. While that is a viable strategy, I would suggest you not normally do so. I think it can become a crutch and it is better to actually learn what the HistogramTranformation process does and how to adjust the settings from scratch. While the Auto Stretch is an OK result, it can often be bettered. In particular, it often makes the background brighter than is really desirable in order to bring out some of the faint detail, and the result can be very noisy.
Lets look again at the HistogramTransformation Process without any adjustments made. Bring up the HistogramTransformation process and click the reset button to the lower right. The process interface should now look like this again.
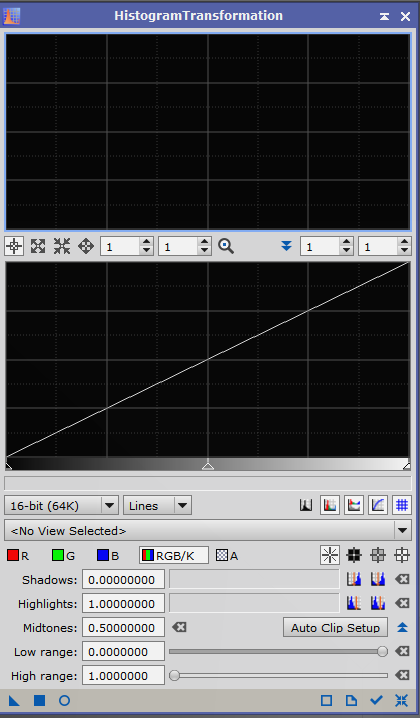
We aren't going to go over every nuance of the interface at this point, but we are going to hit some of the highlights. First of all, you have many of the same buttons at the bottom as found in the ScreenTransferFunction process, and they do much the same things. Those buttons are used throughout PixInsight so you will or should become very fluent in their usage. They aren't 100% consistent. For example the "Track View" button does something slightly different here.
A very important button at the bottom is the blue circle that isn't filled in next to the "Apply Button". If you get the tool tip it will say "Real-Time Preview". If this button is pressed, it will allow you to see a preview of what your results would look like with the current settings without actually applying those settings.
If you press the blue check mark ("Track View") the top large dark portion of the interface will show you information about your data, and what that data will look like if the settings were applied. The bottom large dark section will show the data about the information without the settings applied. Just below the bottom dark portion of the interface there are 3 sliders. They control 3 aspects of how the data will be stretched.
The documentation for the HistogramTransformation calls these slightly different terms:
You may find it easier to remember one or the other set of these terms depending on what image processing software, if any, you have used in the past.
Notice that each of these sliders looks slightly different. The Shadows Clipping Point slider is colored black and is a small right triangle. The Highlights Clipping Point slider is colored white and is also a right triangle but point to the left instead of to the right. The Midtones Balance slider is grey and is the largest triangle of the three. (If you move either the Shadows Clipping Point or the Highlights Clipping point, you will see the slider actually looks the same shape as the Midtones Balance slider. They were just cut off).
Now select the Real-Time Preview button (the blue unfilled circle) and the Track View button (the blue checkmark).
Here is what my display now looks like.
A very important button at the bottom is the blue circle that isn't filled in next to the "Apply Button". If you get the tool tip it will say "Real-Time Preview". If this button is pressed, it will allow you to see a preview of what your results would look like with the current settings without actually applying those settings.
If you press the blue check mark ("Track View") the top large dark portion of the interface will show you information about your data, and what that data will look like if the settings were applied. The bottom large dark section will show the data about the information without the settings applied. Just below the bottom dark portion of the interface there are 3 sliders. They control 3 aspects of how the data will be stretched.
- To the far left is the black point slider
- In the middle is the mid-point slider
- To the far right is the white point slider
The documentation for the HistogramTransformation calls these slightly different terms:
- To the far left is the Shadows Clipping Point slider
- In the middle is the Midtones Balance slider
- To the far right is the Highlights Clipping Point slider
You may find it easier to remember one or the other set of these terms depending on what image processing software, if any, you have used in the past.
Notice that each of these sliders looks slightly different. The Shadows Clipping Point slider is colored black and is a small right triangle. The Highlights Clipping Point slider is colored white and is also a right triangle but point to the left instead of to the right. The Midtones Balance slider is grey and is the largest triangle of the three. (If you move either the Shadows Clipping Point or the Highlights Clipping point, you will see the slider actually looks the same shape as the Midtones Balance slider. They were just cut off).
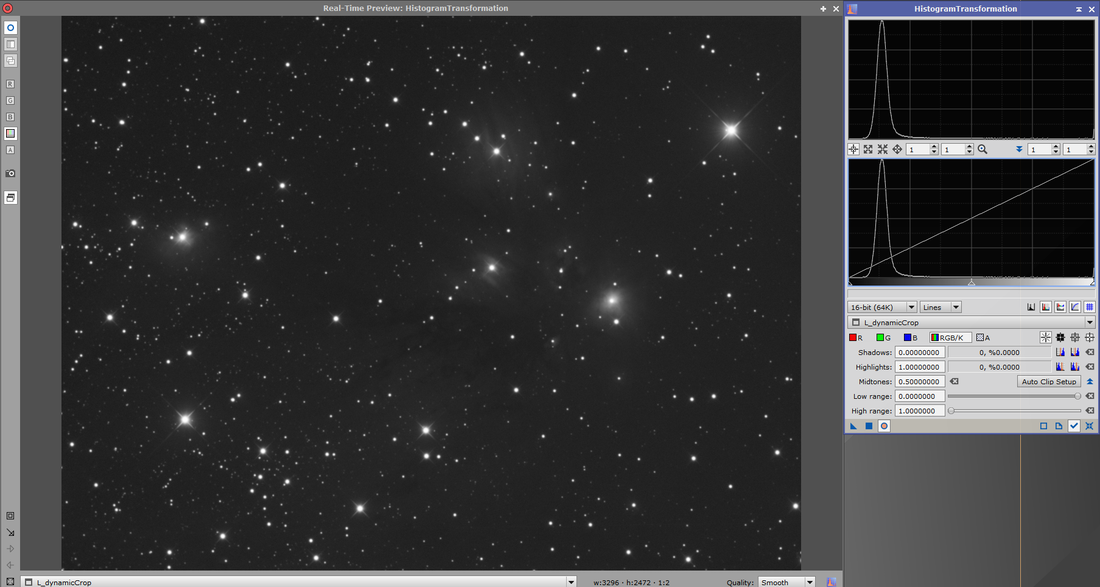
Now select the Real-Time Preview button (the blue unfilled circle) and the Track View button (the blue checkmark).
Here is what my display now looks like.
HistogramTransformation Process with Real-Time Preview and Track View Pressed
We are now ready to start manipulating what our data looks like. Remember we have the Real-Time Preview button pressed so we are just affecting the preview for now.
Take the Midtones Balance slider and move it well to the left like this. Notice how the preview as a whole gets brighter and how a curve shows up in the bottom portion of the HistogramTransformation process. That curve tells us how much we are stretching the data.
Take the Midtones Balance slider and move it well to the left like this. Notice how the preview as a whole gets brighter and how a curve shows up in the bottom portion of the HistogramTransformation process. That curve tells us how much we are stretching the data.
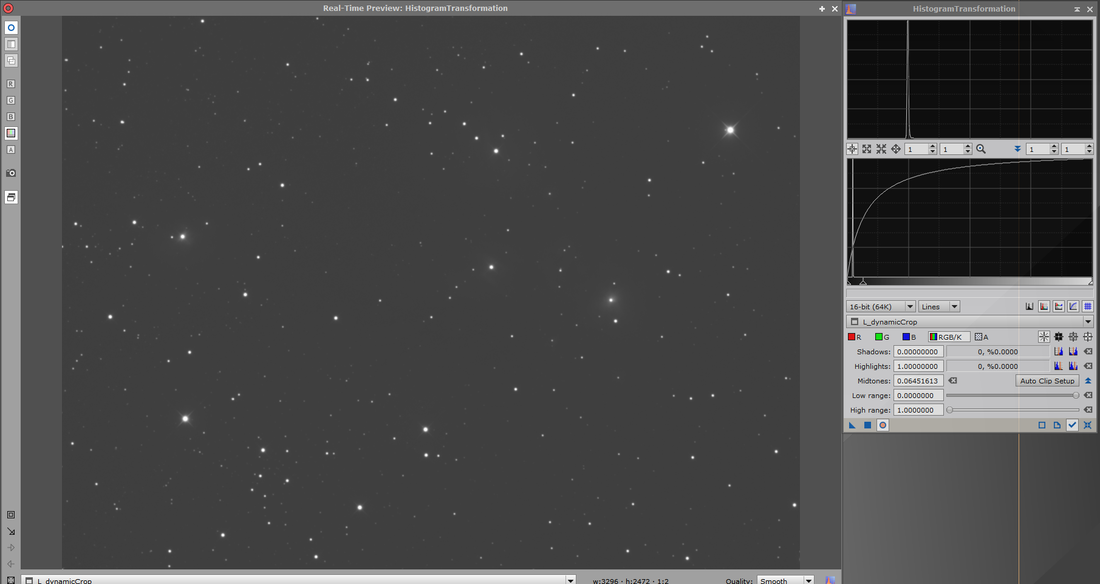
Midtones Balance Slider Pulled to the Left
Notice that there is now a great deal of room to the left of the peak of the data (this process by the way is showing a histogram of the data, and that histogram is being transformed which is where the process gets its name). If you grab the Shadows Clipping Point slider and now move it slightly to the right, the background will darken. If you move it too far, you will actually clip all the data to the left of the slider to black. This is why it is sometimes called the black point slider. Likewise, if you move the Highlights Clipping Point slider to the left, any data to the right of its location will be shown as completely white. Go ahead and play with the Highlights Clipping Point slider and then move it back to the far right.
In the following image, I have deliberately clipped some of the blacks and some of the whites.
In the following image, I have deliberately clipped some of the blacks and some of the whites.
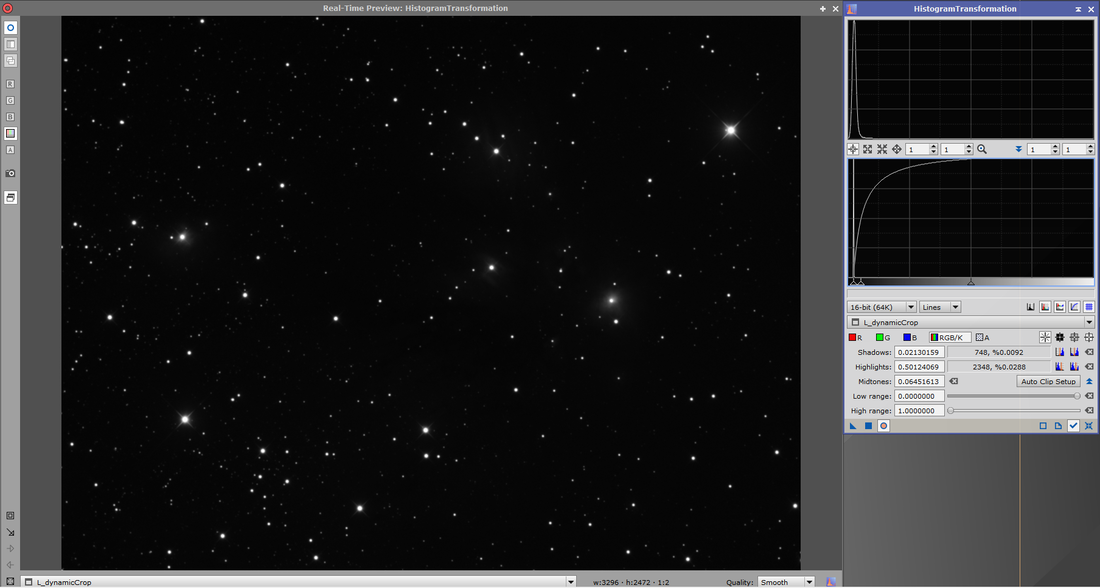
Slightly Clipped Shadows and Highlights
I want you to notice that there is a portion of the interface labeled Shadows. Next to it in a light colored box is a number which represents the slider position. Next to that is the number 748 and then a small percentage (%0.0092). The number 748 is the number of pixels that with this Shadows Clipping Point have been set to absolute black. The percentage number is the percentage of pixels in the image that are set to black. Likewise there are similar numbers next to the Highlights label. There are 2348 pixels that have been set to absolute white and that represents %0.0288 of all pixels.
Also notice how the representation of the data in the top portion of the interface is showing the peak almost all the way against the left side.
Press the Reset button again (the one next to the blue checkmark all the way to the right). Things should be back to this state.
Also notice how the representation of the data in the top portion of the interface is showing the peak almost all the way against the left side.
Press the Reset button again (the one next to the blue checkmark all the way to the right). Things should be back to this state.
The Display after Pressing the Reset Button Again
Notice that next to the Shadows section of the interface are two blue and red buttons. If you tool tip over them they are labeled:
Likewise there are similar buttons for the Highlights section. They are labeled:
It is worth mentioning that the % of pixels clipped by the Auto clip shadows and the Auto clip highlights buttons are user settable. There a large button labeled "Auto Clip Setup". If you click that a dialog box opens. I have mine set relatively conservatively at .01%. I have heard from other users that there's are set as high as 1%. I would suggest that for many purposes that is way too high.
Go ahead and Auto zero both the Shadows and the Highlights. Then grab the Midtones Balance button and move it left until the histogram peak shown in the top portion of the interface is about 1/8th the way to the right.
- Auto zero shadows
- Auto clip shadows (and a percent)
Likewise there are similar buttons for the Highlights section. They are labeled:
- Auto zero highlights
- Auto clip highlights (and a percent)
It is worth mentioning that the % of pixels clipped by the Auto clip shadows and the Auto clip highlights buttons are user settable. There a large button labeled "Auto Clip Setup". If you click that a dialog box opens. I have mine set relatively conservatively at .01%. I have heard from other users that there's are set as high as 1%. I would suggest that for many purposes that is way too high.
Go ahead and Auto zero both the Shadows and the Highlights. Then grab the Midtones Balance button and move it left until the histogram peak shown in the top portion of the interface is about 1/8th the way to the right.
Shadows and Highlights Auto zeroed and Midtones Balance Set to Move Peak About 1/8th the Way to the Right.
We are now going to actually apply these settings. Use the Apply button (the blue square to the bottom left). Then hit the Reset Button (button to far bottom right). This should be the result.
Initial HistogramTransformation Stretch Applied
Notice that because of the way we did this, the Real-Time Preview is still showing. But if you delete the "Real-Time Preview" window by pressing the Delete button (the X) at the upper right, you will see your underlying data has been changed. Press the "Real-Time Preview button again to bring up the preview.
Notice also that the bottom portion of the HistogramTransformation process interface looks very similar to the top. The location of the sliders has been moved back to their default positions.
Move the Shadow Clipping Point slider so that it clips just a few of the pixels (less than 100). Then move the Midtones Balance slider so that it brightens things up and moves the peak in the top portion to about the 3/16ths mark.
[Note: There is nothing magical about that 3/16ths mark. The appropriate amount will vary image to image. I find that for many of my images the best setting is somewhere between 1/8 and 3/16ths, but it is highly image dependent. If you overstretch the image it will cause immediate problems (the background will be too light) and more far-ranging problems (you will lose saturation when you combine the L data with the RGB data).]
Clipping Just a few of the Shadows and Moving the Peak about 3/16ths to the Right
We now have an image that is showing much of the detail that was present in the original Auto Stretch version. However, there is much less apparent noise in the darker sections. It is common to need to trade off how much detail shows vs how much apparent noise is in the image.
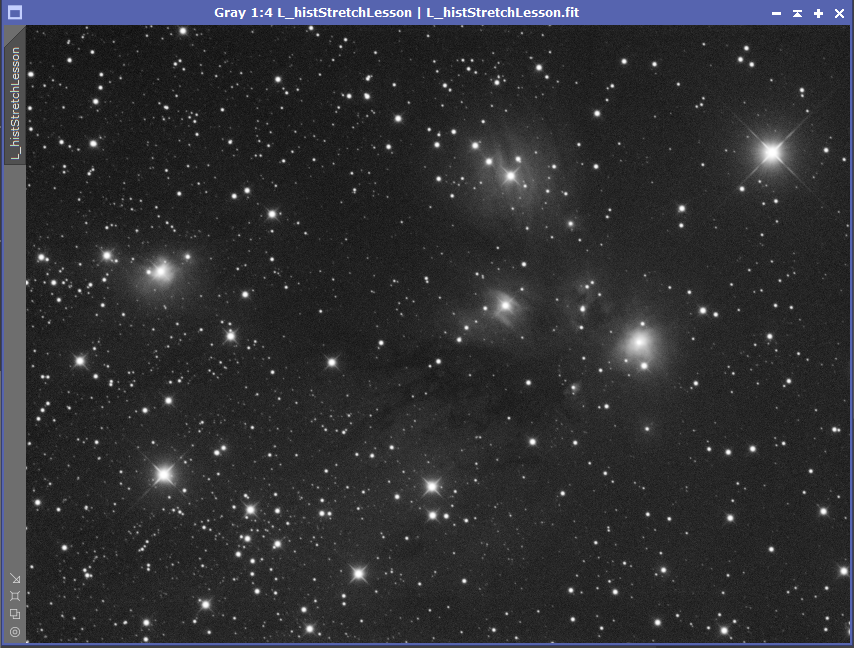
Go ahead and how Apply (the blue square) the changes, delete the Real-Time Preview window, and save the file (File-Save As). I named the file L_histStretchLesson.
Go ahead and how Apply (the blue square) the changes, delete the Real-Time Preview window, and save the file (File-Save As). I named the file L_histStretchLesson.
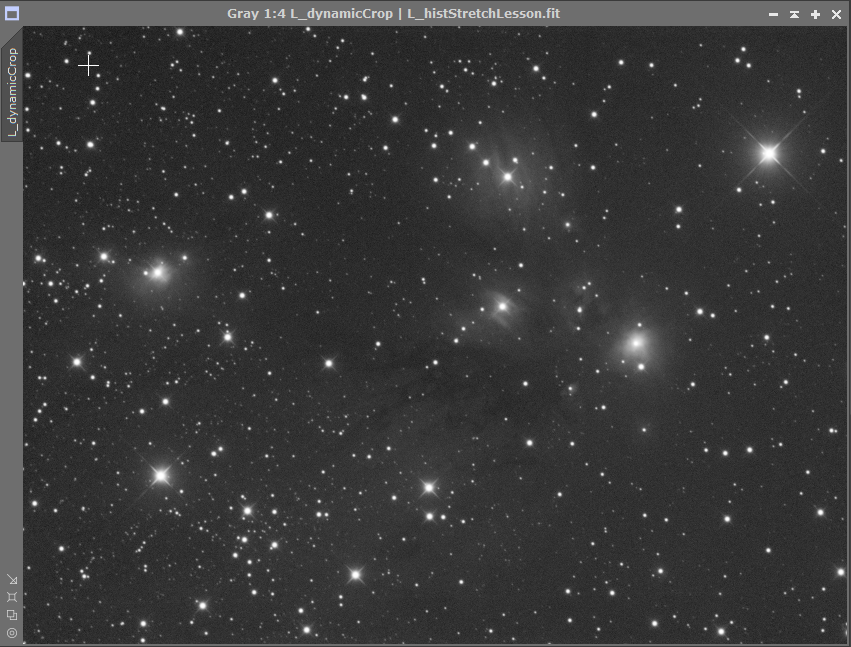
File Saved with Second Stretch Applied
Please make sure you understand this material because it is foundational to image processing with PixInsight.
I want to say a little bit more about clipping the shadows and highlights. Anytime you clip the shadows or the highlights, you are losing information and that information cannot be recovered. Best case, an educated guess could be made at what was there. On the other hand, by clipping the shadows or the highlights slightly, we can up the contrast of the image which can make it look better to the human eye. In the version below I have clipped more of the blacks and it may look better to you (it doesn't to me but tastes vary).
I want to say a little bit more about clipping the shadows and highlights. Anytime you clip the shadows or the highlights, you are losing information and that information cannot be recovered. Best case, an educated guess could be made at what was there. On the other hand, by clipping the shadows or the highlights slightly, we can up the contrast of the image which can make it look better to the human eye. In the version below I have clipped more of the blacks and it may look better to you (it doesn't to me but tastes vary).

More Clipped Blacks for Higher Contrast
Likewise, some people will clip their highlights for the same reason. I almost never clip the highlights as it can cause additional problems.
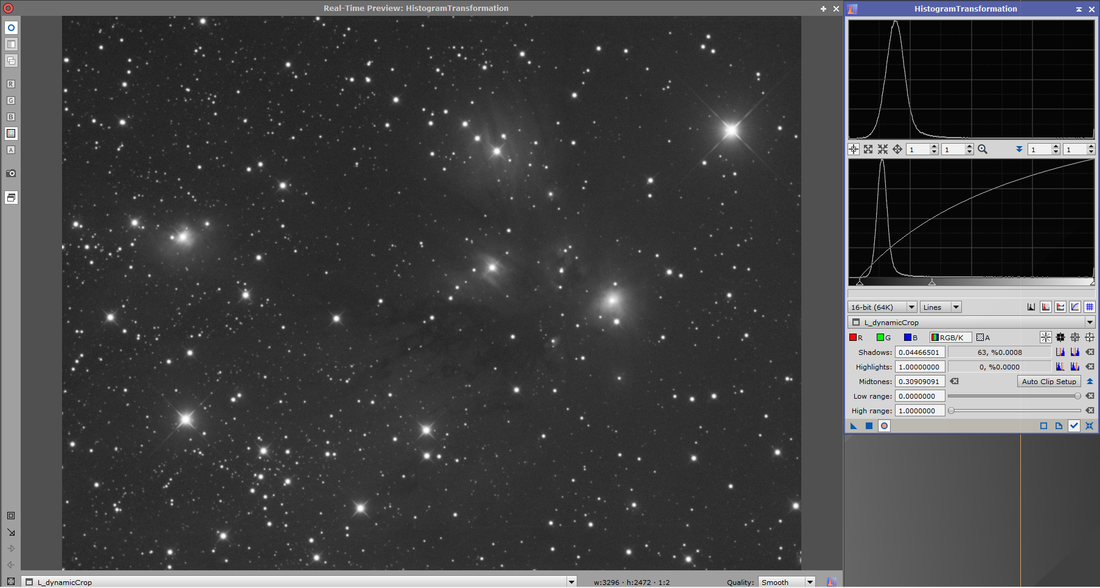
Later on we will show other techniques that allow adjusting the contrast in ways that give the desired gain in contrast without clipping the highlights or the shadows. Here is an example of that where the same number of shadow pixels was clipped (just 63) as in the file we saved after the second stretch.
Later on we will show other techniques that allow adjusting the contrast in ways that give the desired gain in contrast without clipping the highlights or the shadows. Here is an example of that where the same number of shadow pixels was clipped (just 63) as in the file we saved after the second stretch.
Version with a Different Way of Adjusting Contrast that Doesn't Rely on Clipping Shadows
The last version has the nice contrast but has less apparent noise.
