The DynamicCrop Process and Process Icons:
You may have noticed in the section of the ScreenTransferFunction (often just called STF from now on) that when an Auto Stretch was applied that the edges of the luminosity data looked very ragged. This is sometimes even more obvious when a boosted Auto Stretch is used. Sometimes this is also more obvious when the window size is made somewhat bigger than the image itself. (You do that by mousing over the lower right corner of the window and then holding down the mouse button while dragging the edges of the window to be larger).
You may have noticed in the section of the ScreenTransferFunction (often just called STF from now on) that when an Auto Stretch was applied that the edges of the luminosity data looked very ragged. This is sometimes even more obvious when a boosted Auto Stretch is used. Sometimes this is also more obvious when the window size is made somewhat bigger than the image itself. (You do that by mousing over the lower right corner of the window and then holding down the mouse button while dragging the edges of the window to be larger).
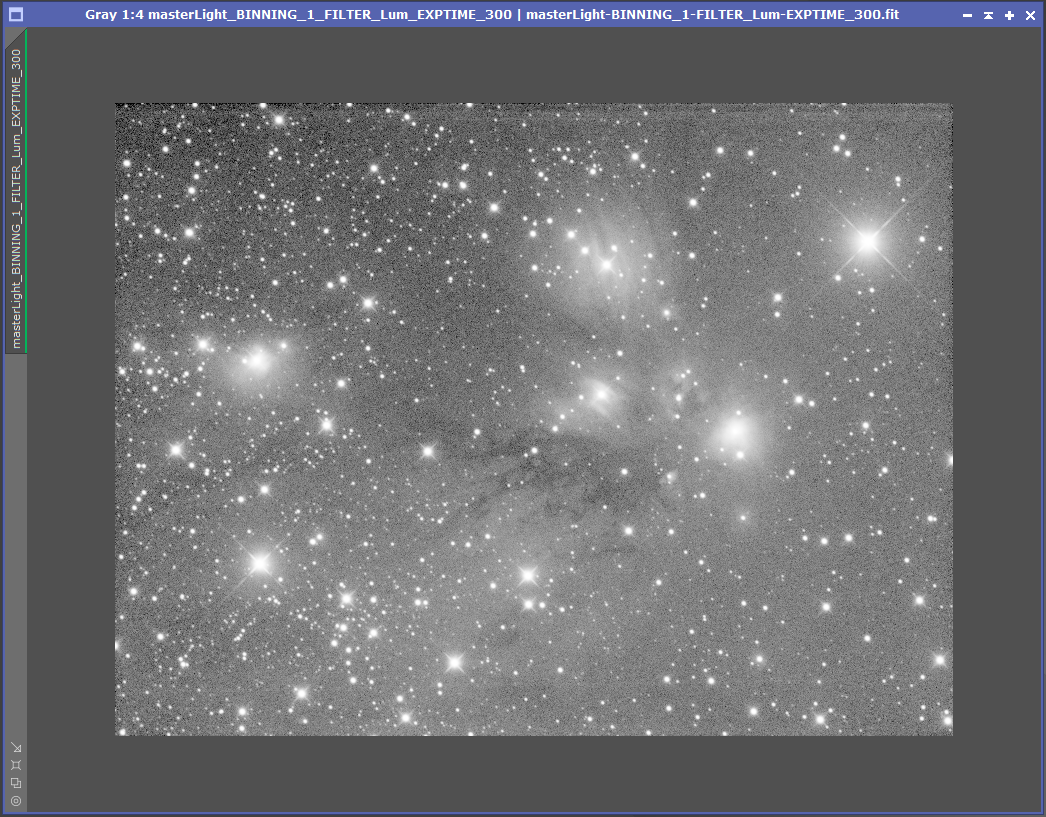
Boosted Auto Stretch with the Image Window enlarged
Those ragged edges can show up in a number of different ways, but the above image is fairly typical of what you might see. Those ragged edges are called stacking artifacts and are caused by the different individual subs that you stacked not lining up with one another perfectly. That lack of perfect alignment isn't necessarily a bad thing. For example, dithering is often used to prevent a different, more serious problem, and it will cause that lack of perfect alignment.
We almost never want those ragged edges to show, and it is advantageous to eliminate them early on when processing an image. One way of doing this is using the DynamicCrop process. Go ahead and bring up the DynamicCrop process.
We almost never want those ragged edges to show, and it is advantageous to eliminate them early on when processing an image. One way of doing this is using the DynamicCrop process. Go ahead and bring up the DynamicCrop process.
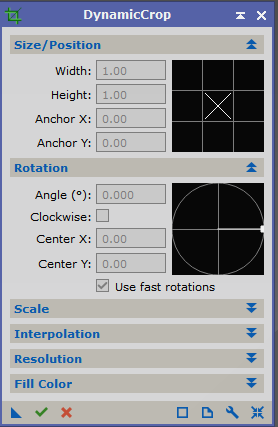
DynamicCrop Process
When you do so, nothing will appear to happen in the image window except it will be deselected. The border at the top will turn grey instead of being blue.
To use the DynamicCrop process, click and hold in the image window starting in the upper left within the image avoiding the nasty parts that contain stacking artifacts. Then while continuing to hold down the mouse drag it to the lower right again making sure that all the image inside the box has no artifacts. It should look something like this.
To use the DynamicCrop process, click and hold in the image window starting in the upper left within the image avoiding the nasty parts that contain stacking artifacts. Then while continuing to hold down the mouse drag it to the lower right again making sure that all the image inside the box has no artifacts. It should look something like this.
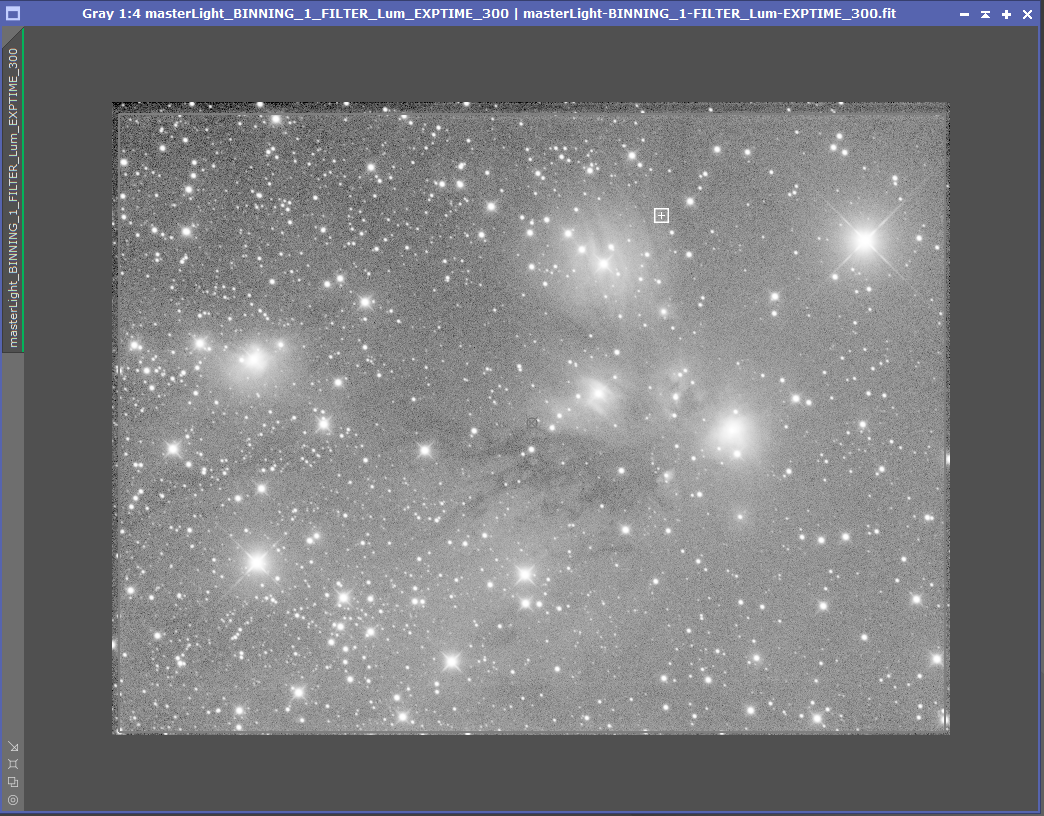
DynamicCrop with Area to Be Kept Defined
If you used a Boosted Auto Stretch like I did, the border will contained the portion of the image to be kept will be less obvious. You will notice there is a square box with a plus in it. If you place that cursor over parts of that border, different actions can be performed. For example you can move the border or you can rotate the section to be kept. Adjust the borders to your liking.
If you now look in the DynamicCrop interface you might notice that the numbers within that interface have changed.
If you now look in the DynamicCrop interface you might notice that the numbers within that interface have changed.

If you wrote all those numbers down and then reentered them later, you could reproduce a particular crop exactly! However, that isn't exactly a user friendly solution.
Fortunately for us, while the creators of PixInsight do occasionally seem to delight in the obscure, they have provided a way to exactly repeat processes later on. The blue "New Instance" triangle is our ticket. If we drag that blue triangle from the DynamicCrop interface to a blank portion of our PixInsight workspace and then release the mouse, it will create what is called a process icon. It will look like this.
Fortunately for us, while the creators of PixInsight do occasionally seem to delight in the obscure, they have provided a way to exactly repeat processes later on. The blue "New Instance" triangle is our ticket. If we drag that blue triangle from the DynamicCrop interface to a blank portion of our PixInsight workspace and then release the mouse, it will create what is called a process icon. It will look like this.
DynamicCrop Process Icon
After you have created a process icon for the dynamic crop that you have set up (but not applied yet), go ahead and close your DynamicCrop interface (click the x in the upper right hand corner). A popup will ask if you really want to do that. Go ahead and say yes.
When you do so, the borders you so carefully drew to define the portion of the image you want to keep will disappear and so will the DynamicCrop interface. But your DynamicCrop process icon should still be there. If you double click on that process icon fast enough, the DynamicCrop interface should come back, the borders you drew in the image should show, and the numbers in the interface should reflect what was there when you created the process icon. Nifty!
Even better, it is possible to save the process icon so you can use it again, perhaps at some much later time. If you go to Process->Process Icons->Save Process Icons... you can save the process icon to a file. And then later you can use the Process->Process Icons->Load Process Icons.. to retrieve it.
Saving a Process Icon
We will find this is incredibly handy, not just for DynamicCrop but for many other processes as well, when you might want to repeat something the way you did it before. For example, in the case of DynamicCrop, you will want to crop your color data the same way you did the luminosity data so that everything still lines up properly. Make sure you do save your DynamicProcess Icon, because we will want to use it again later.
This has another use as well. Sometimes for complicated operations such as noise reduction, you might want to save a process icon for use by others, or you might want to load a process icon someone else has created.
Great, we have got back the settings for DynamicCrop that we had earlier. But we still haven't applied the crop. That can be done a couple of ways:
1) We could click on the green check mark in the lower left portion of the Dynamic Crop interface. If we mouse over the check mark, the tool tip will tell us that will "Execute" the process.
2) If you haven't brought up the DynamicCrop interface (or have dismissed it again), you can simply drag the DynamicCrop process icon over the image and release the mouse. The image will then be cropped.
Go ahead and crop the image. Then make sure you save the cropped image for later use. You can save it either as a .XISF file or as a .FIT file. Name it something you can remember that signifies what it contains. For example, I might call it L_dynamicCrop to let me know it is luminosity data that has had the DynamicCrop process applied to it.
This has another use as well. Sometimes for complicated operations such as noise reduction, you might want to save a process icon for use by others, or you might want to load a process icon someone else has created.
Great, we have got back the settings for DynamicCrop that we had earlier. But we still haven't applied the crop. That can be done a couple of ways:
1) We could click on the green check mark in the lower left portion of the Dynamic Crop interface. If we mouse over the check mark, the tool tip will tell us that will "Execute" the process.
2) If you haven't brought up the DynamicCrop interface (or have dismissed it again), you can simply drag the DynamicCrop process icon over the image and release the mouse. The image will then be cropped.
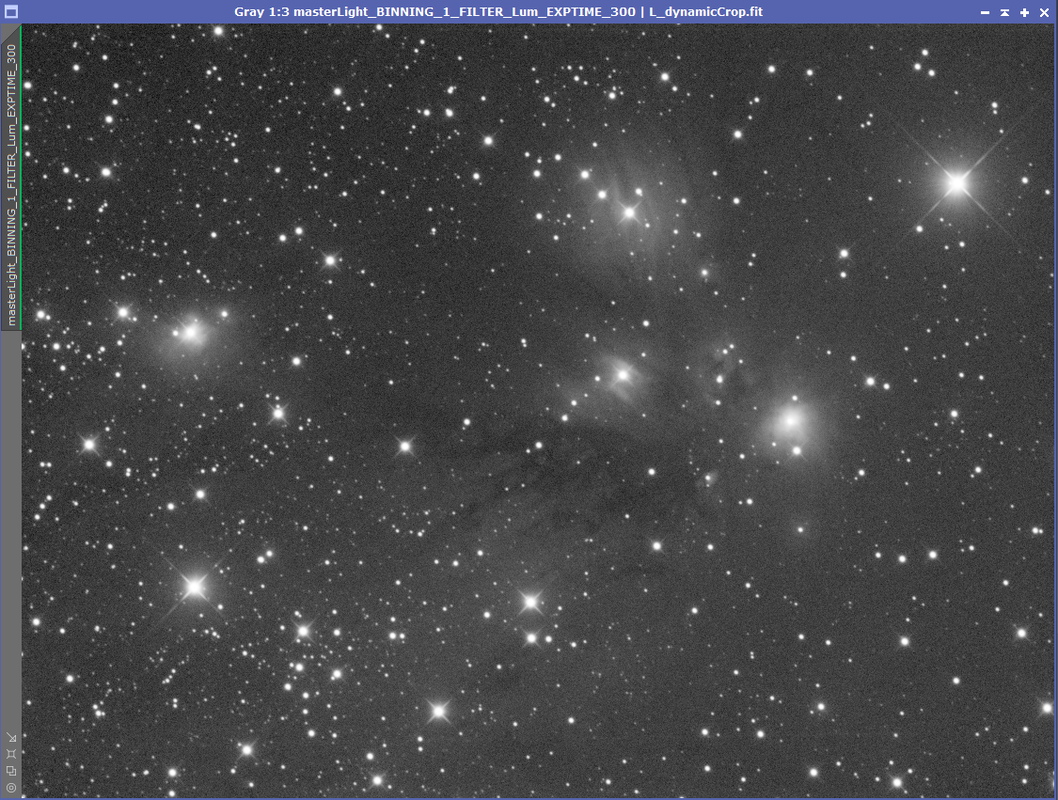
Go ahead and crop the image. Then make sure you save the cropped image for later use. You can save it either as a .XISF file or as a .FIT file. Name it something you can remember that signifies what it contains. For example, I might call it L_dynamicCrop to let me know it is luminosity data that has had the DynamicCrop process applied to it.
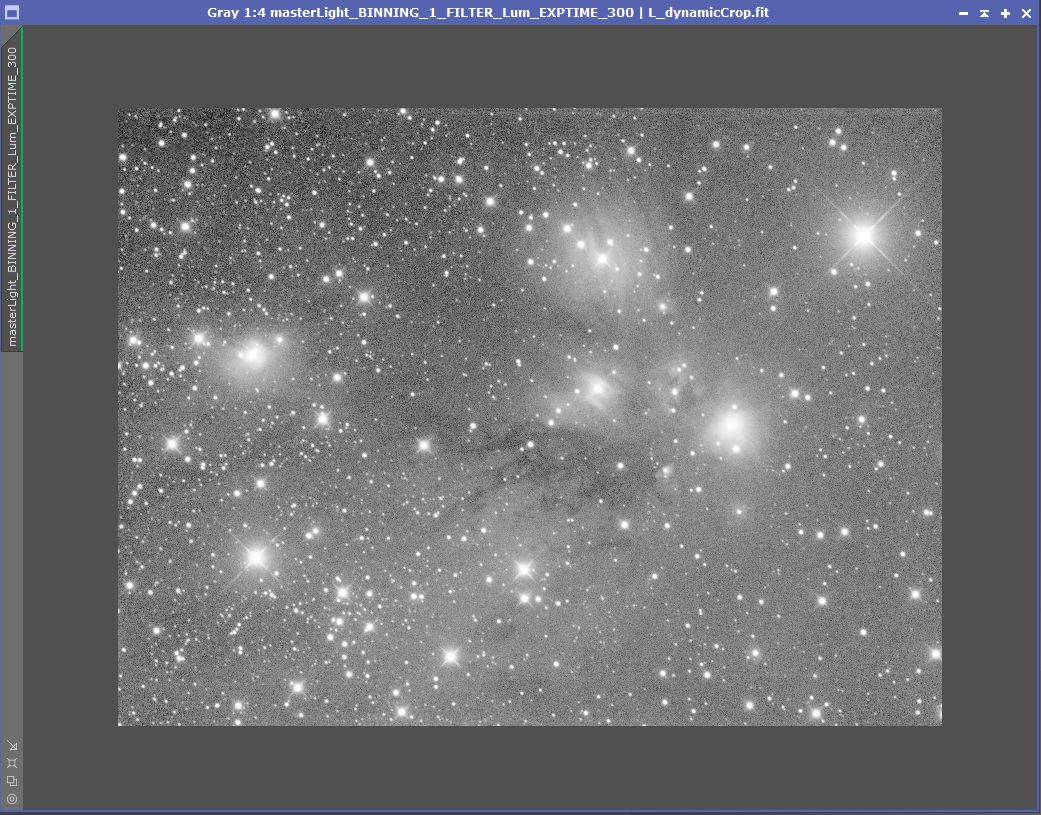
The Image after Cropping
Just a few more things before we go on to another topic. Recall that the Auto Stretch that has been done using the ScreenTransferFunction does not actually change the underlying data. For example, now that I am done cropping the image, I could decide to go back to a regular Auto Stretch instead of a boosted Auto Stretch. If I still had my ScreenTransferFunction process up, I could just click on the nuclear symbol (the circle with alternating black and yellow segments).
Also, I might decide I want the image to exactly fit within the border of the window. If I right click over the image and then select "Zoom To Optimal Fit" the window will be resized. You will notice there are also selections for "Zoom to Fit" and "Fit View" when you right click over the image. Try those three different possibilities and see what happens. There are some other zoom actions that can be taken as well. You can play with them too.
Also, I might decide I want the image to exactly fit within the border of the window. If I right click over the image and then select "Zoom To Optimal Fit" the window will be resized. You will notice there are also selections for "Zoom to Fit" and "Fit View" when you right click over the image. Try those three different possibilities and see what happens. There are some other zoom actions that can be taken as well. You can play with them too.
The Image after a Regular Auto Stretch and "Zoom To Fit" on My Computer
