Stretching the Image:
It is now time to stretch the luminosity data. Bring up the HistogramTransform process. You want to blue check mark on the bottom right. That enables track view. What it buys you in practice is that changes you make will now be displayed in the upper histogram (i.e. what the histogram will now look like). You also want to press the blue circle in the bottom left of the window. That will bring up a preview window. Resize that window so you can see what you are doing.
It is now time to stretch the luminosity data. Bring up the HistogramTransform process. You want to blue check mark on the bottom right. That enables track view. What it buys you in practice is that changes you make will now be displayed in the upper histogram (i.e. what the histogram will now look like). You also want to press the blue circle in the bottom left of the window. That will bring up a preview window. Resize that window so you can see what you are doing.
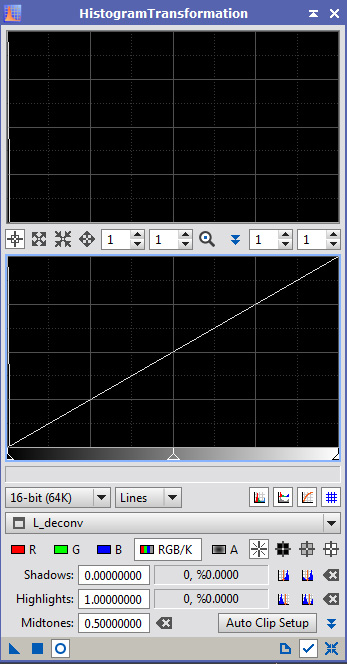
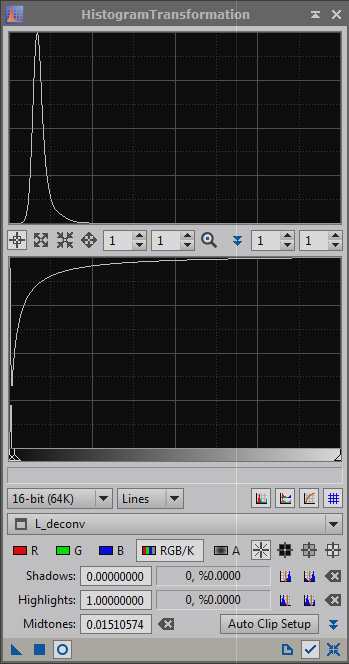
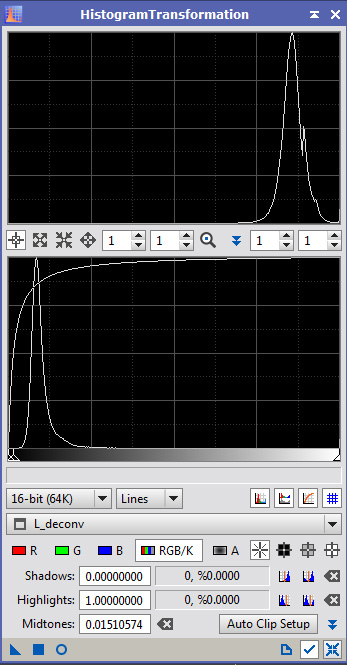
Make sure you have reset the ScreenTransferFunction. Now move the middle slider for the Histogram Transformation over towards the left. You'll want to be quite aggressive with it.
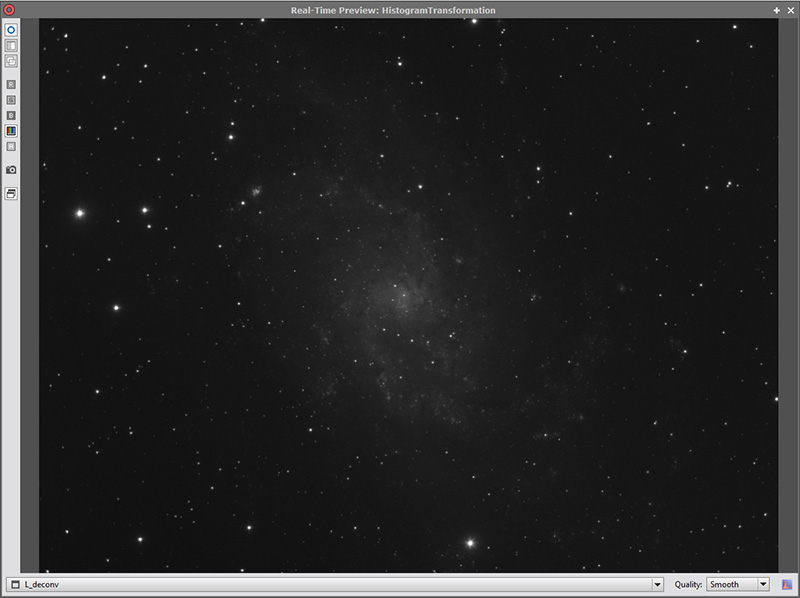
Here is what the real-time preview looks like.
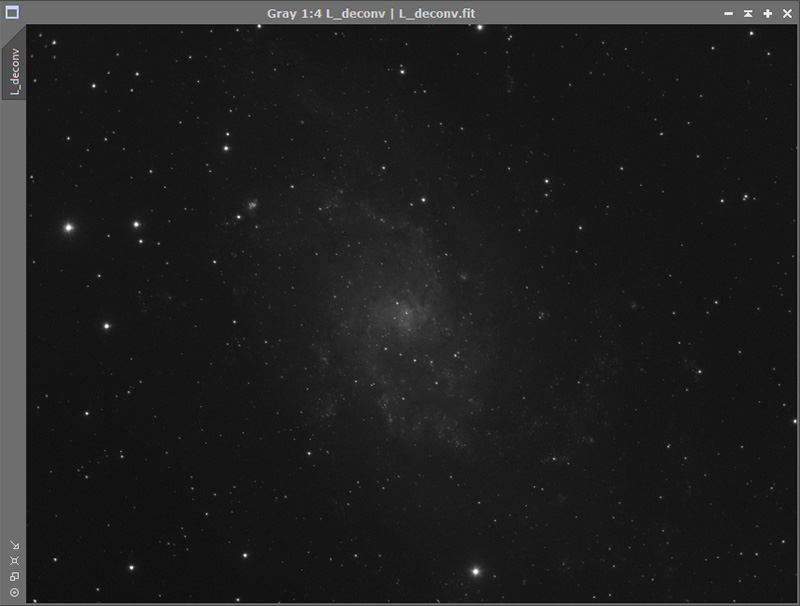
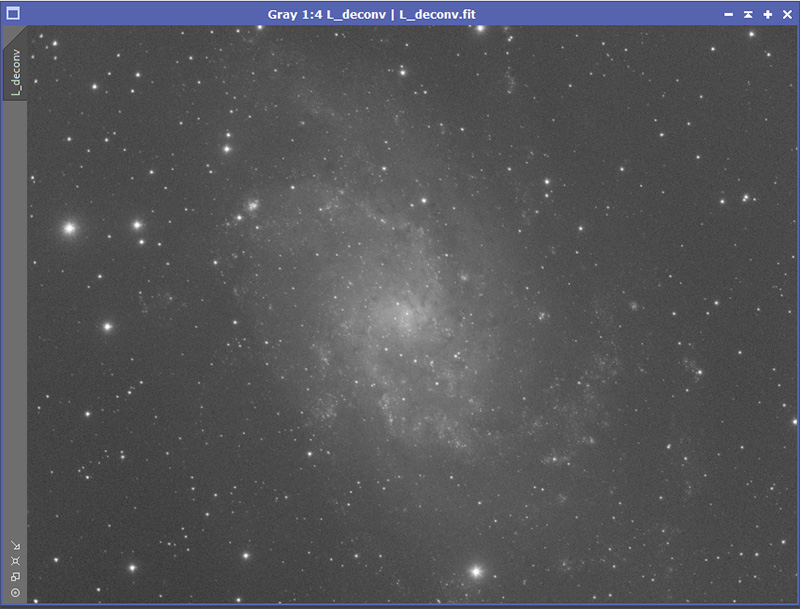
Now close the real-time preview and drag the blue triangle on the bottom left of the HistogramTranformation window over the image. Alternatively, click the blue box on bottom left of the HistogramTransformation window to apply it. My image now looks like this.
The settings in the HistogramTransformation window now need to be reset. Do that with the blue cross like icon on the bottom left.
Give things another stretch.
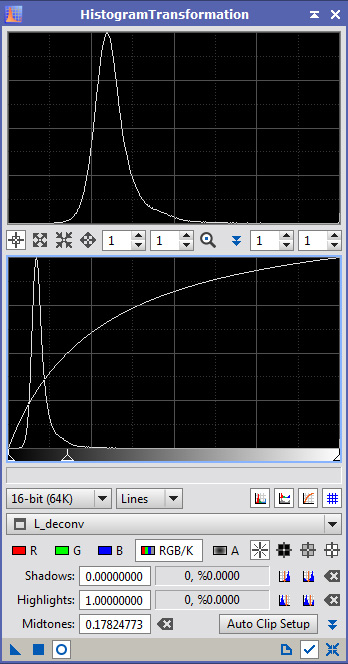
This is the result once applied.
Although it looks like we might be able to move the black point in, that is not the case. It would result in immediate clipping. It is time to run a denoise routine.
